Developing a Serverless Stable Diffusion API
 Eli Mernit
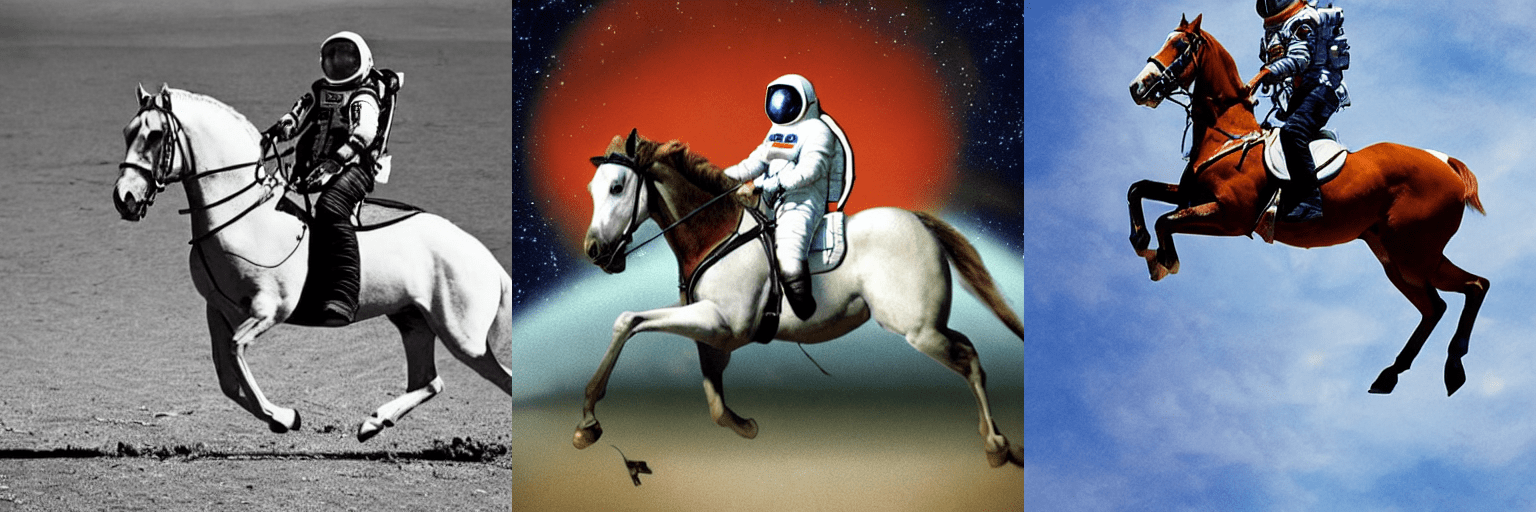
Stable Diffusion has unlocked a range of entrepreneurial projects, from Avatars to Magical AI Art Tools. However, there's still a high cost in setting up the dev environment required to iterate on ML models using GPUs.
The cost of running stable diffusion
Traditionally, here's what you'd need to do to setup a dev environment for something like stable diffusion:
- Login to the AWS / GCP / DigitalOcean console and provision a GPU machine
- SSH into the machine and install Docker
- Create a Dockerfile with all Python and system-level requirements
- Spin up the Docker container in the instance
- Connect the instance to VSCode and start developing
Total Time: 1-3 hours for initial setup, in addition to the ongoing cost of managing the instance, Dockerfile, and API glue-code
Total Cost: $350-2,000 per month for a dedicated GPU
And that's only for development. If you're planning to deploy, you'll need to write some serving code using FastAPI or Flask, and expose your instance to the internet.
While this process will certainly work, it is a lot of overhead in cost and resources.
Introducing Beam
Over the past few months, we've developed a new workflow for developing and deployment large models like Stable Diffusion. We're calling this product Beam.
There are three aspects of Beam which are really powerful:
- You can develop locally on remote hardware without logging into the cloud and provisioning a GPU
- You can deploy apps as serverless web endpoints, so you only pay for actual compute usage
- Your apps will scale to zero when idle and scale up automatically with traffic. This makes Beam an excellent fit for projects that use GPU with infrequent usage patterns.
Let's go through a basic example and setup a local dev environment for stable diffusion, which we'll then deploy as a webhook on a serverless GPU.
To run this example, you'll need the Beam CLI and a free account.
Spinning up a GPU runtime
Your runtime is defined in idiomatic Python. Let's say we want to develop on a GPU machine with some Python libraries installed.
First, create a file with your Beam App definition. You can name this whatever you want. For now, you'll name it app.py.
Developing locally on a remote GPU
To spin up the environment in your shell, run:
This command will create a remote virtual environment in your local shell. It will:
- Look for a Beam app definition in
app.py - Spin up a container based with the exact CPU, memory and GPU you've asked for
- Install all the requested libraries on the container
Deploying the function as an API
To deploy your code, just run this command:
beam deploy app.py:generate
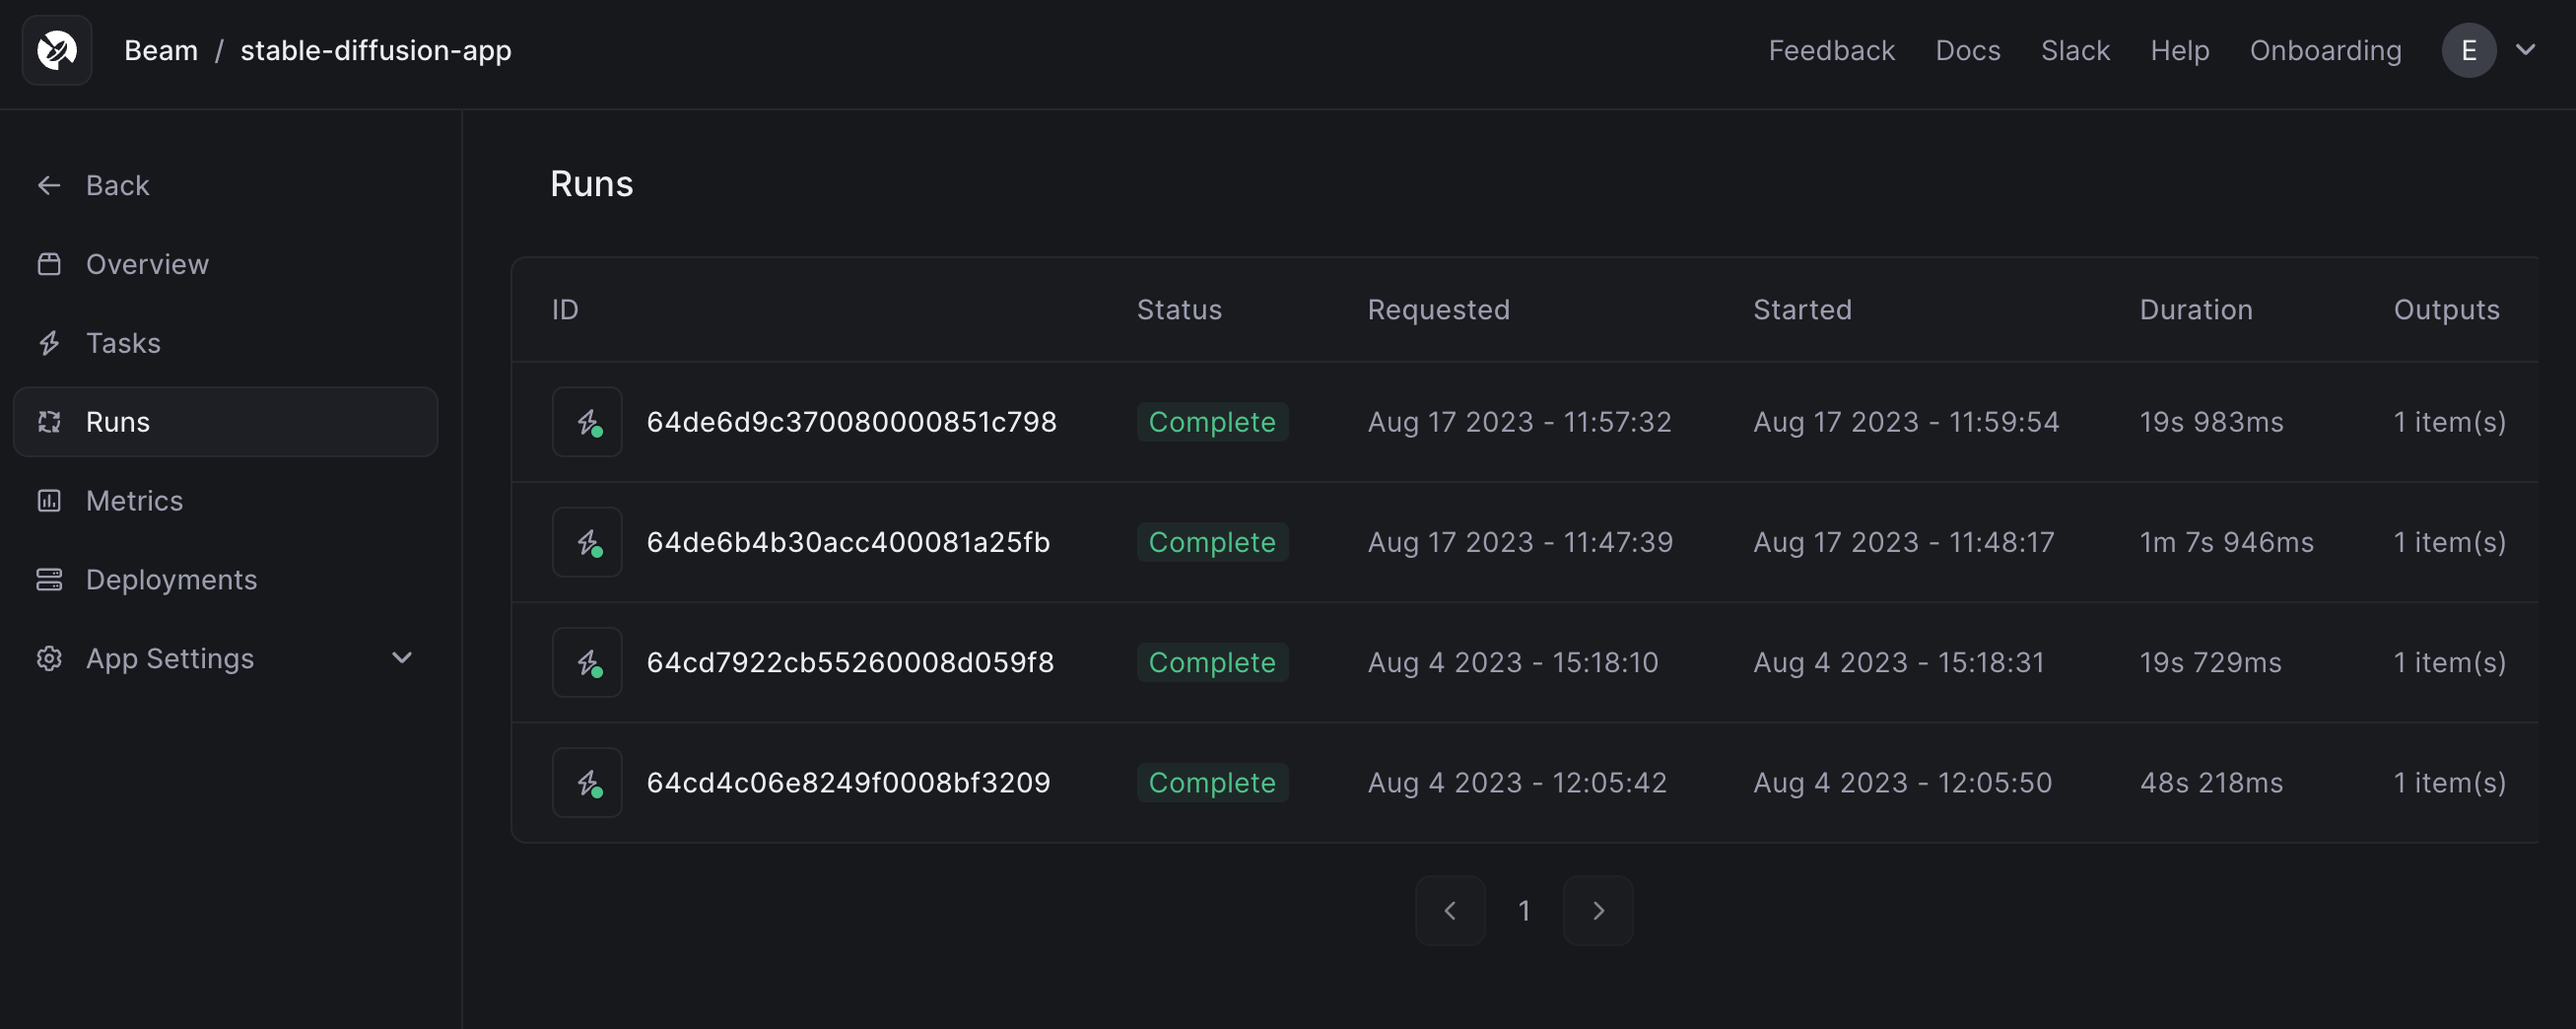
You'll see the deployment appear in the dashboard.

Generating images via the API
In the dashboard, click Call API to view the webhook URL.
Paste the code into your terminal to make a request.
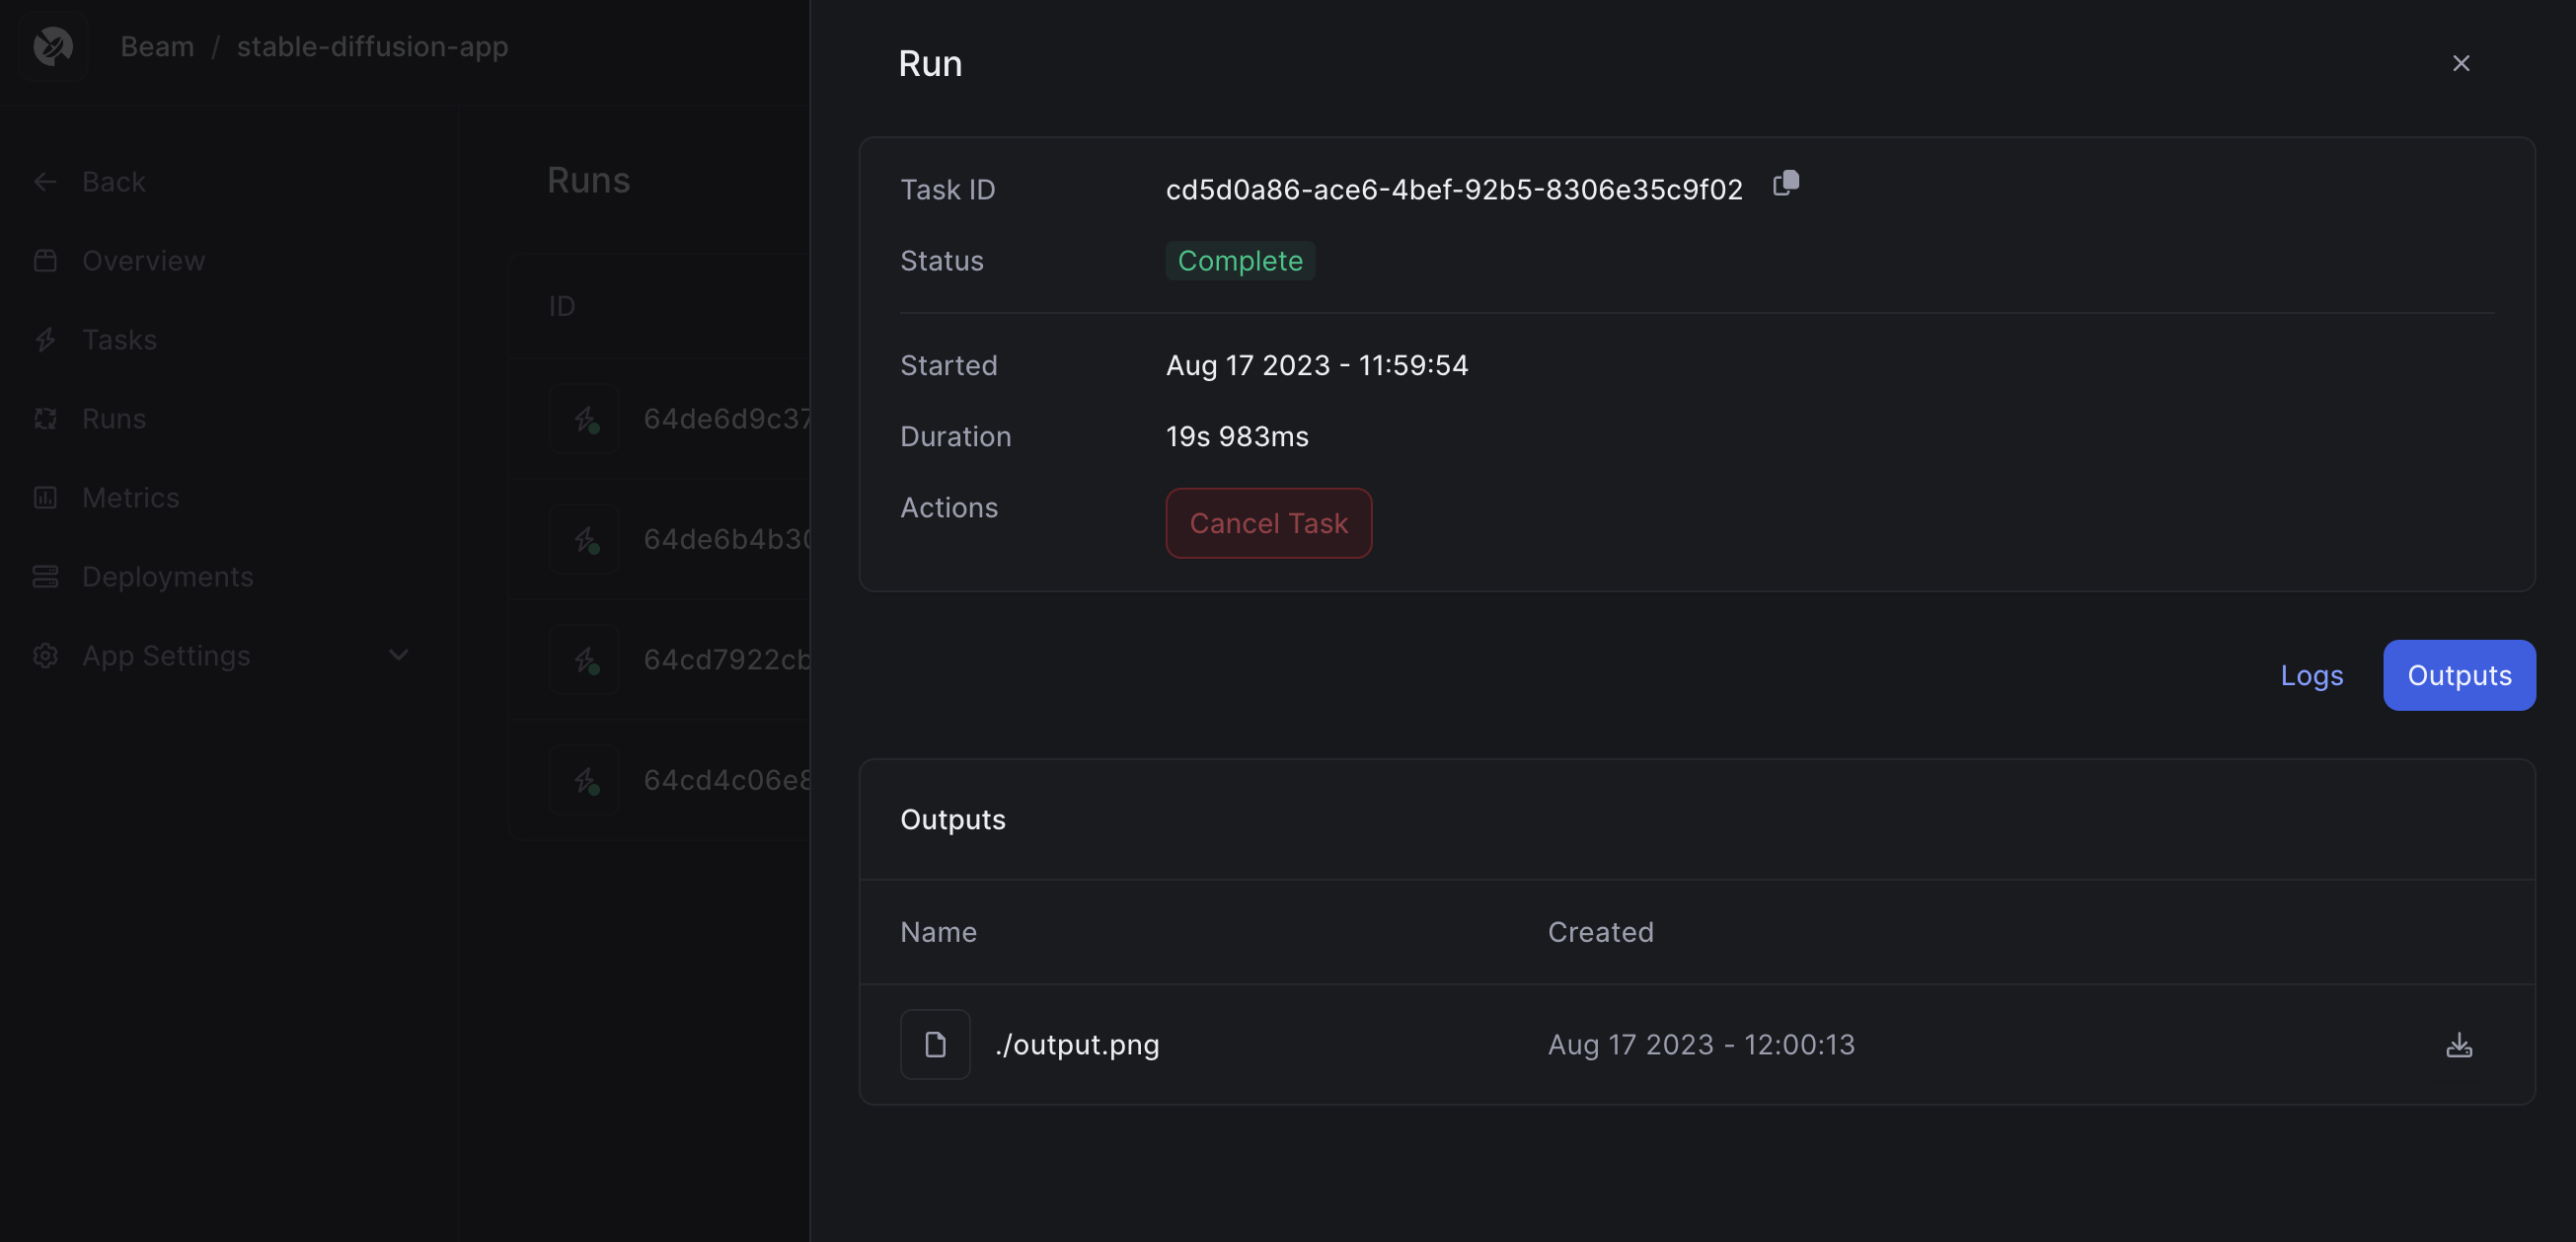
The API returns a Task ID.
Querying the status of a job
You will use the /task API to retrieve the status of a job, passing in the Task ID.
This returns the generated image in the outputs dictionary, as a pre-signed URL.
What will you build?
This workflow has sped up our iteration speed significantly, and we're excited to see what you build with it. In addition, the entire runtime is serverless, so it's much cheaper than running the same code on a dedicated instance in the cloud.